
DfAM
Design Process
Getting a design ready for printing is a complex, rewarding process. Our engineers meet you wherever you are in that process and help carry it toward production.
01CAD
Good prints start in CAD
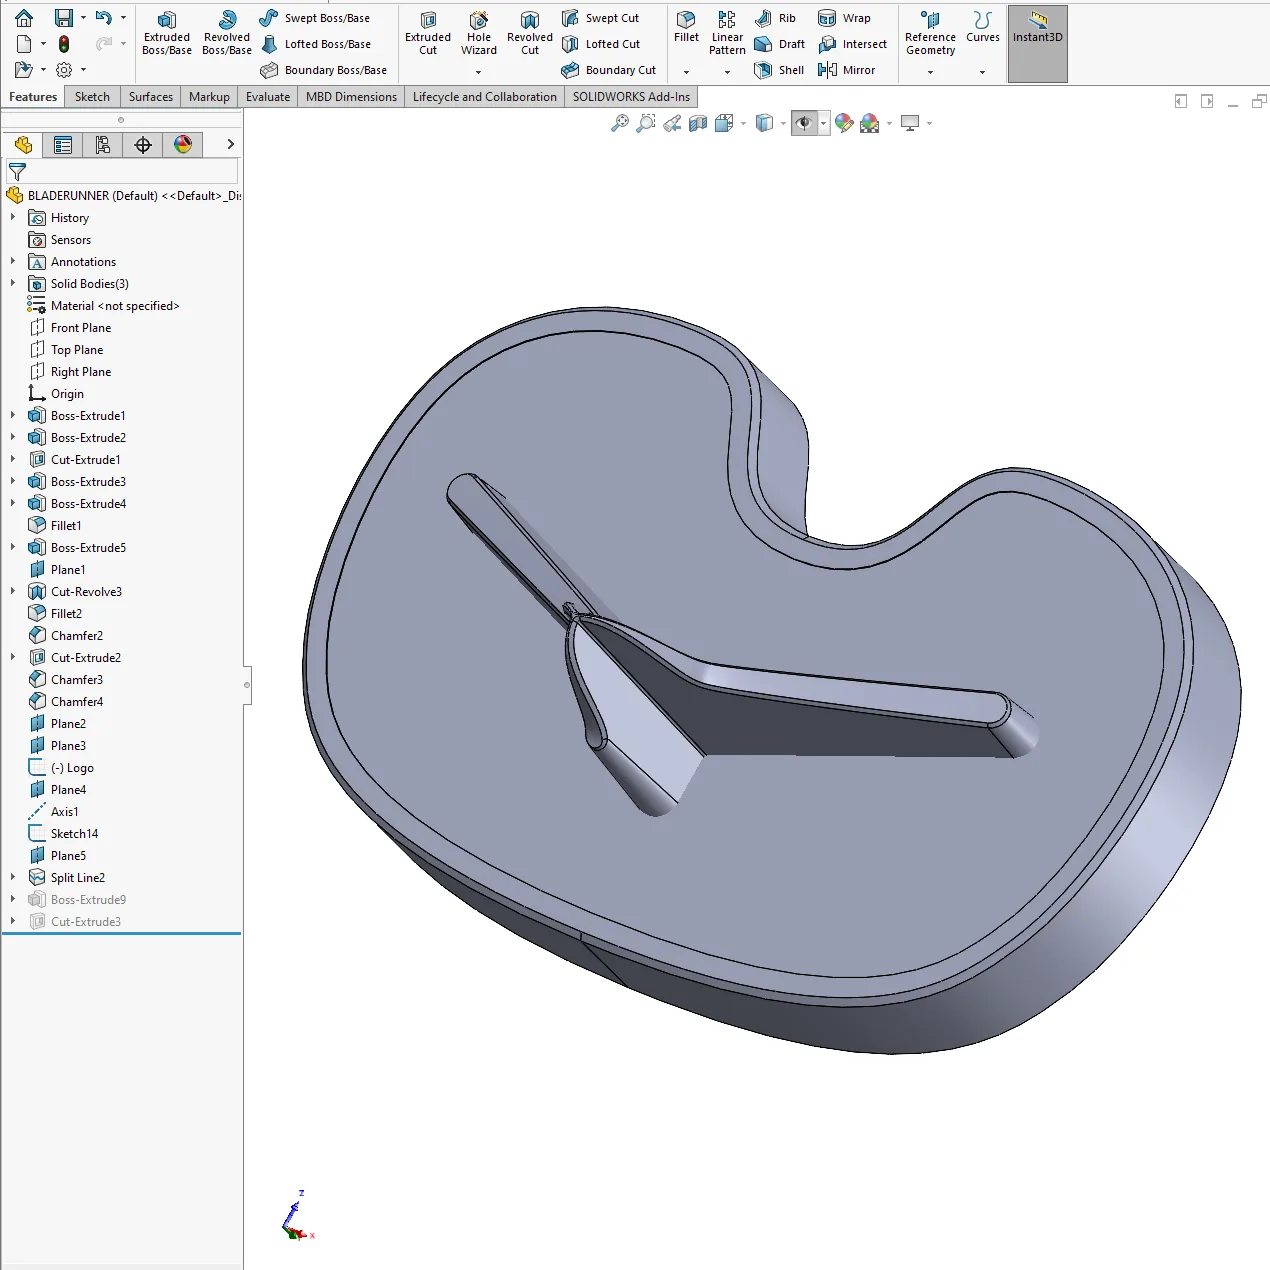
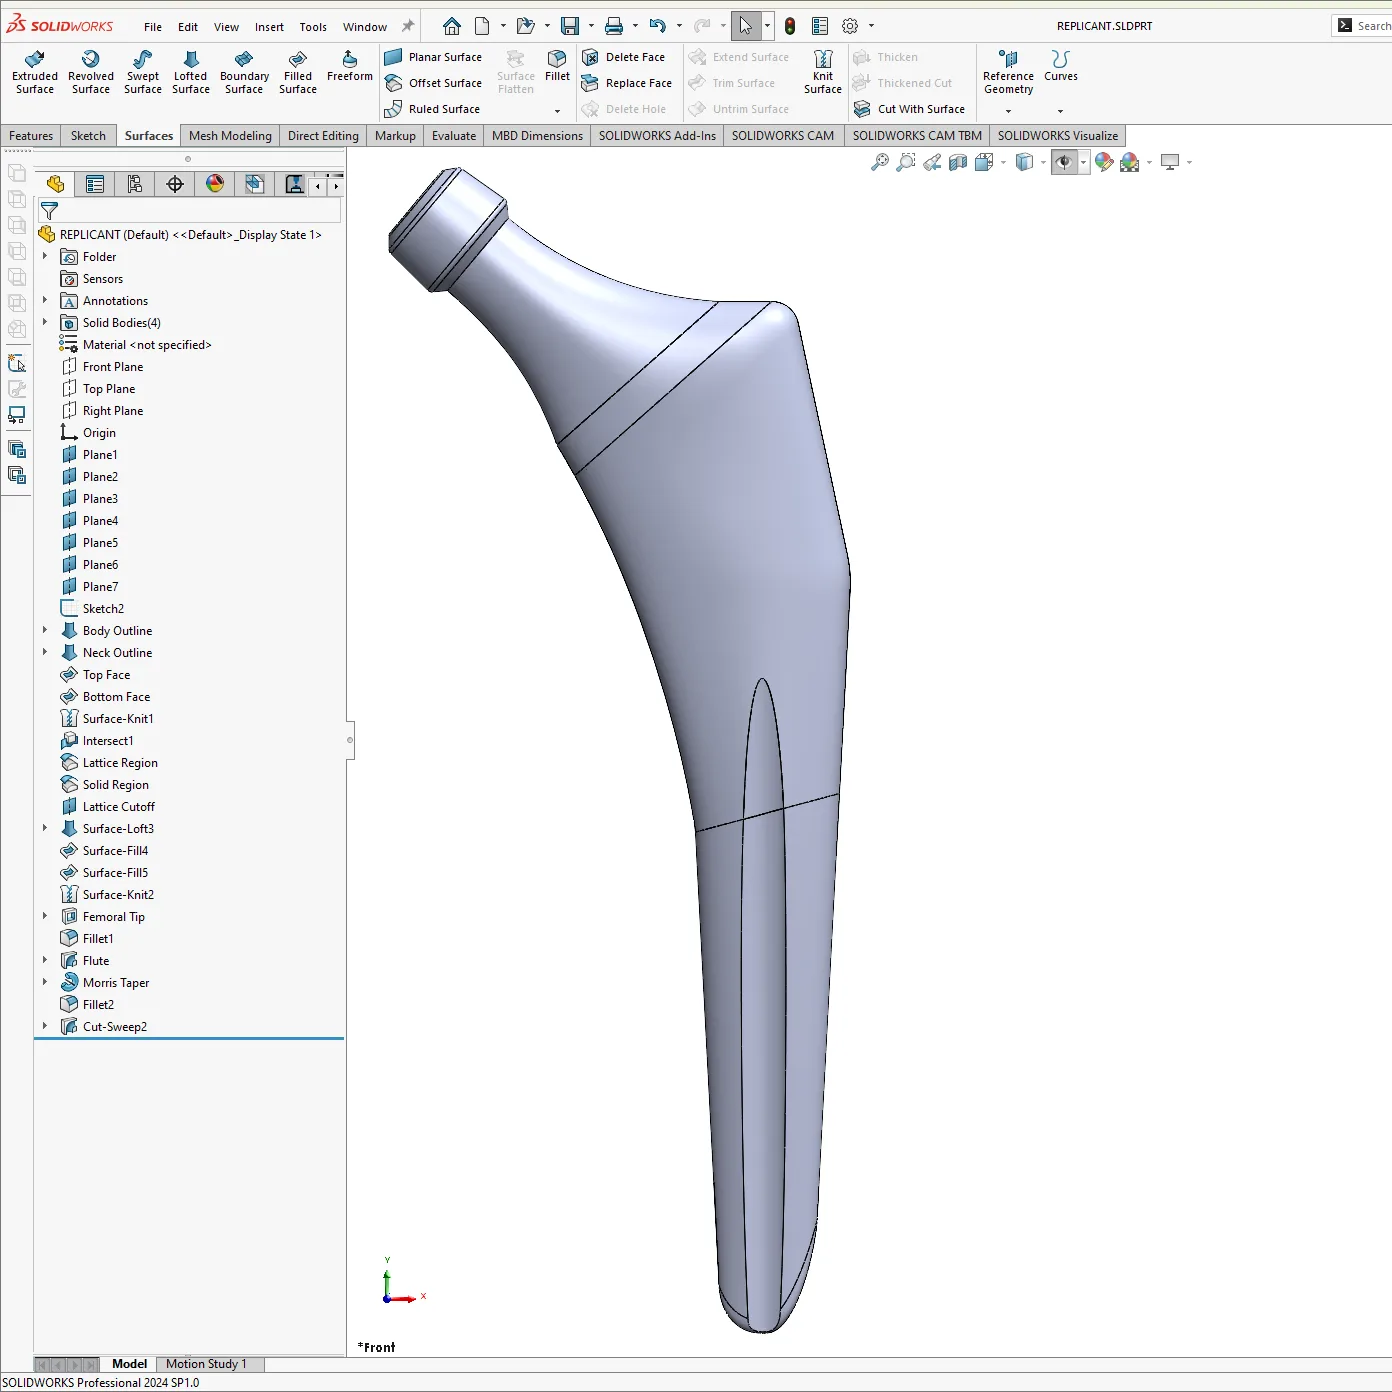
Every part starts as a 3D model, usually built in SolidWorks, Fusion 360, NX, Creo, or Inventor.
Good additive designs start here. If you already have a print orientation in mind, design around it and reduce overhangs and islands where you can. Our engineers are ready to talk through your CAD before it ever reaches a machine.
02nTop
Lattice, topology, and custom supports
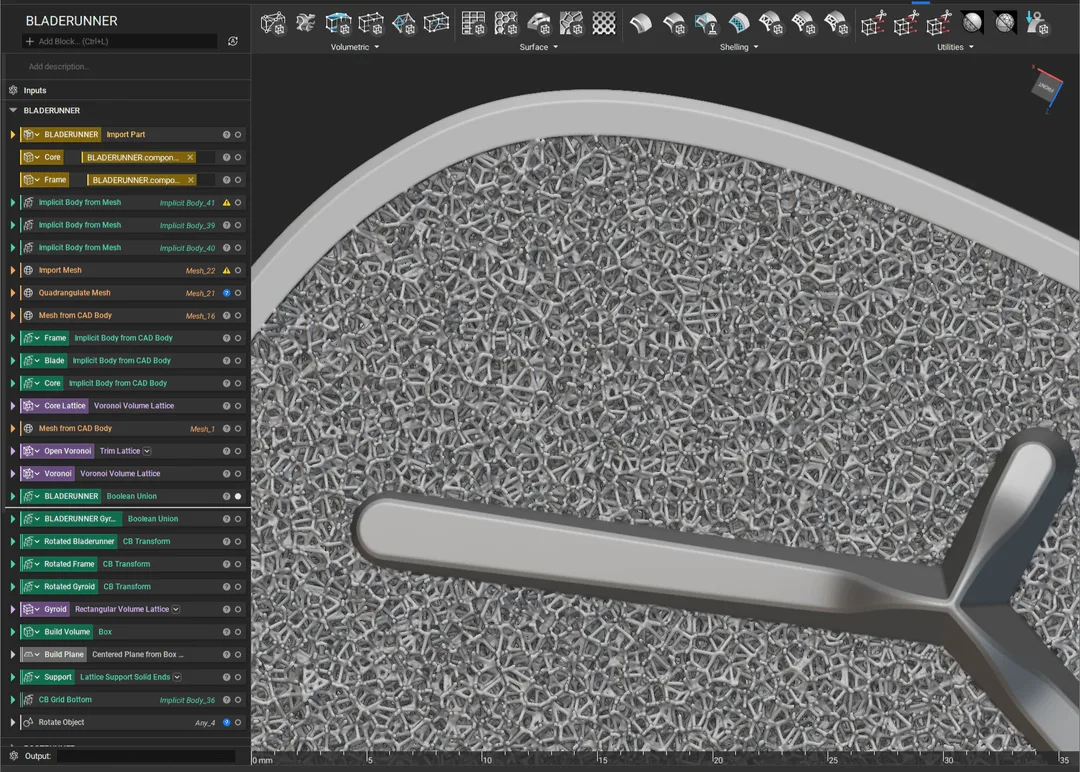
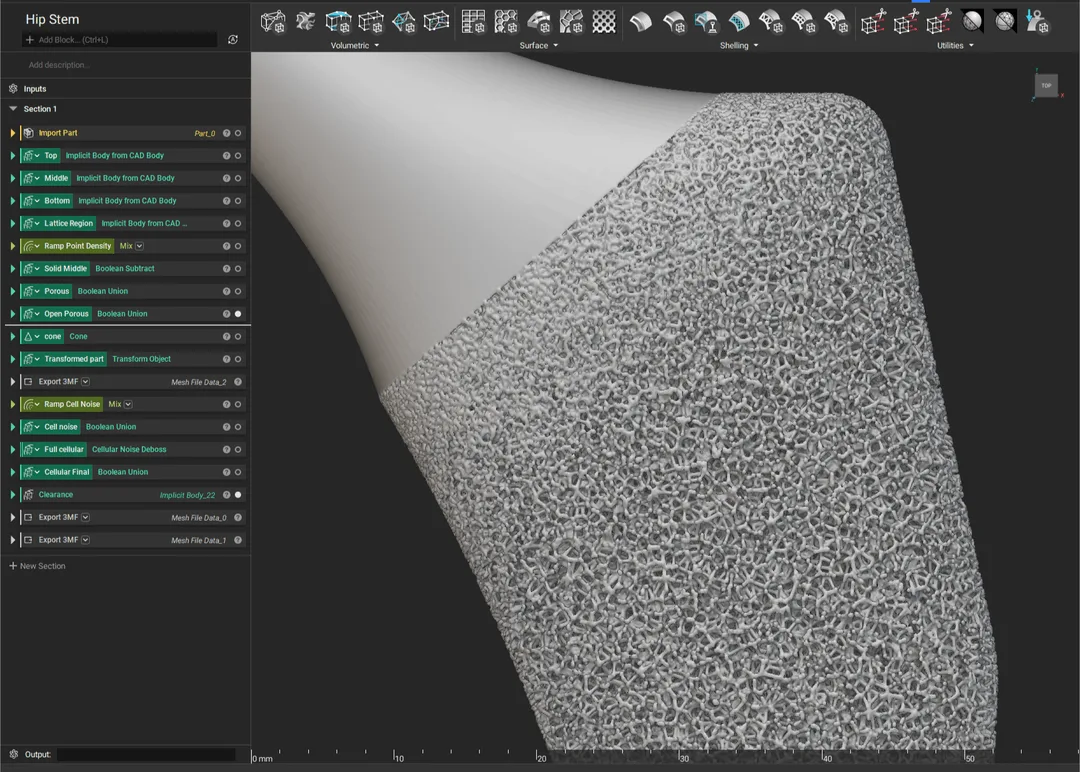
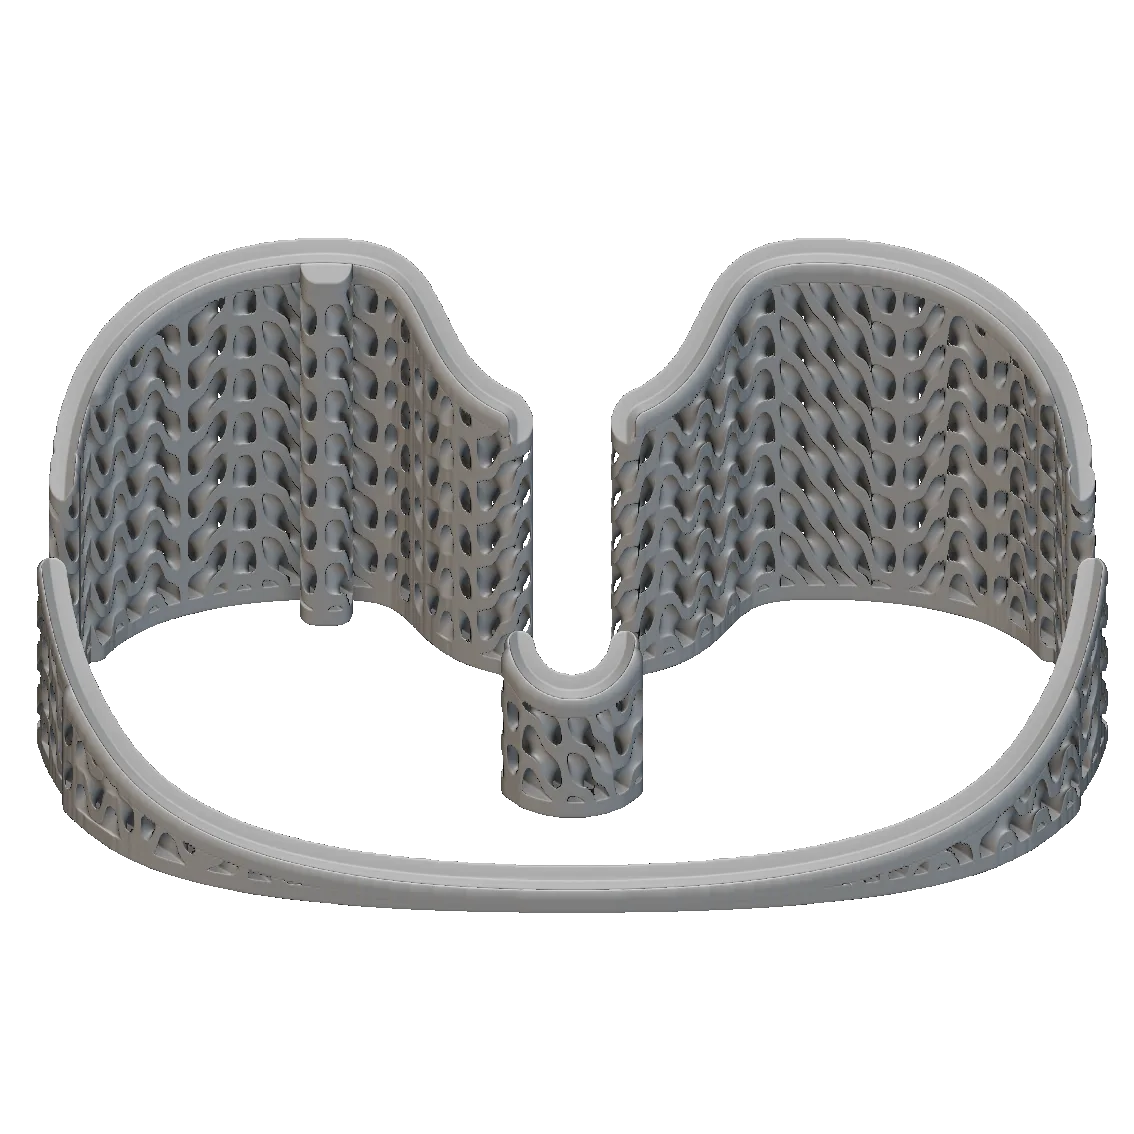
3D printing opens up geometry that traditional machining cannot touch, and nTop is how we use it. We generate lattice structures, run topology optimization, and build custom supports, all in the same software.
Lattice work cuts weight and cost. Medical devices benefit the most, since lattice surfaces promote osseointegration.
03Generate supports
Supports that pull their weight
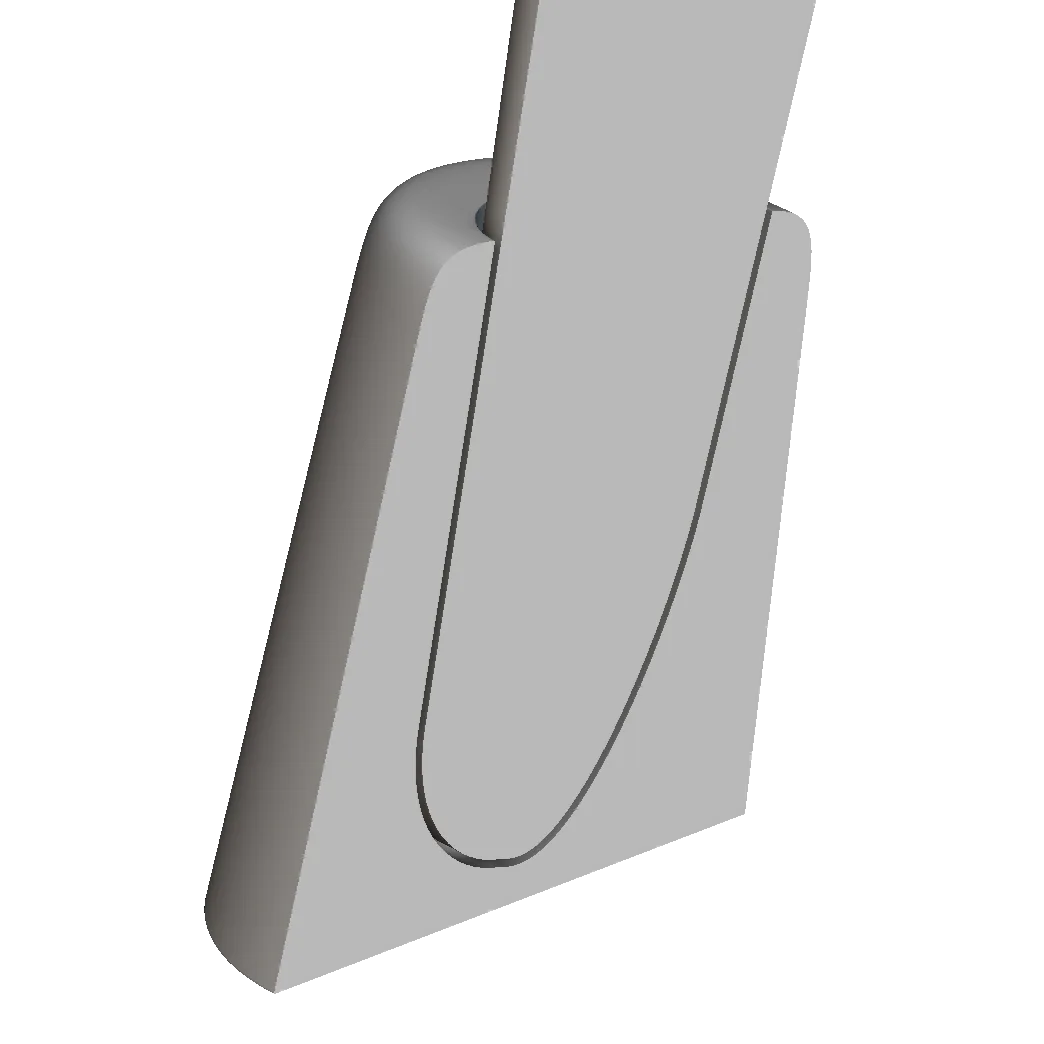
Good supports make or break a print. Our FormUp 350 printers need fewer of them than most machines, but some parts still need supports, to improve surface finish or act as a heat sink against thermal stress.
We use support strategies built to cut material and cost while keeping surface finish clean.
04Build manager
From model to laser path
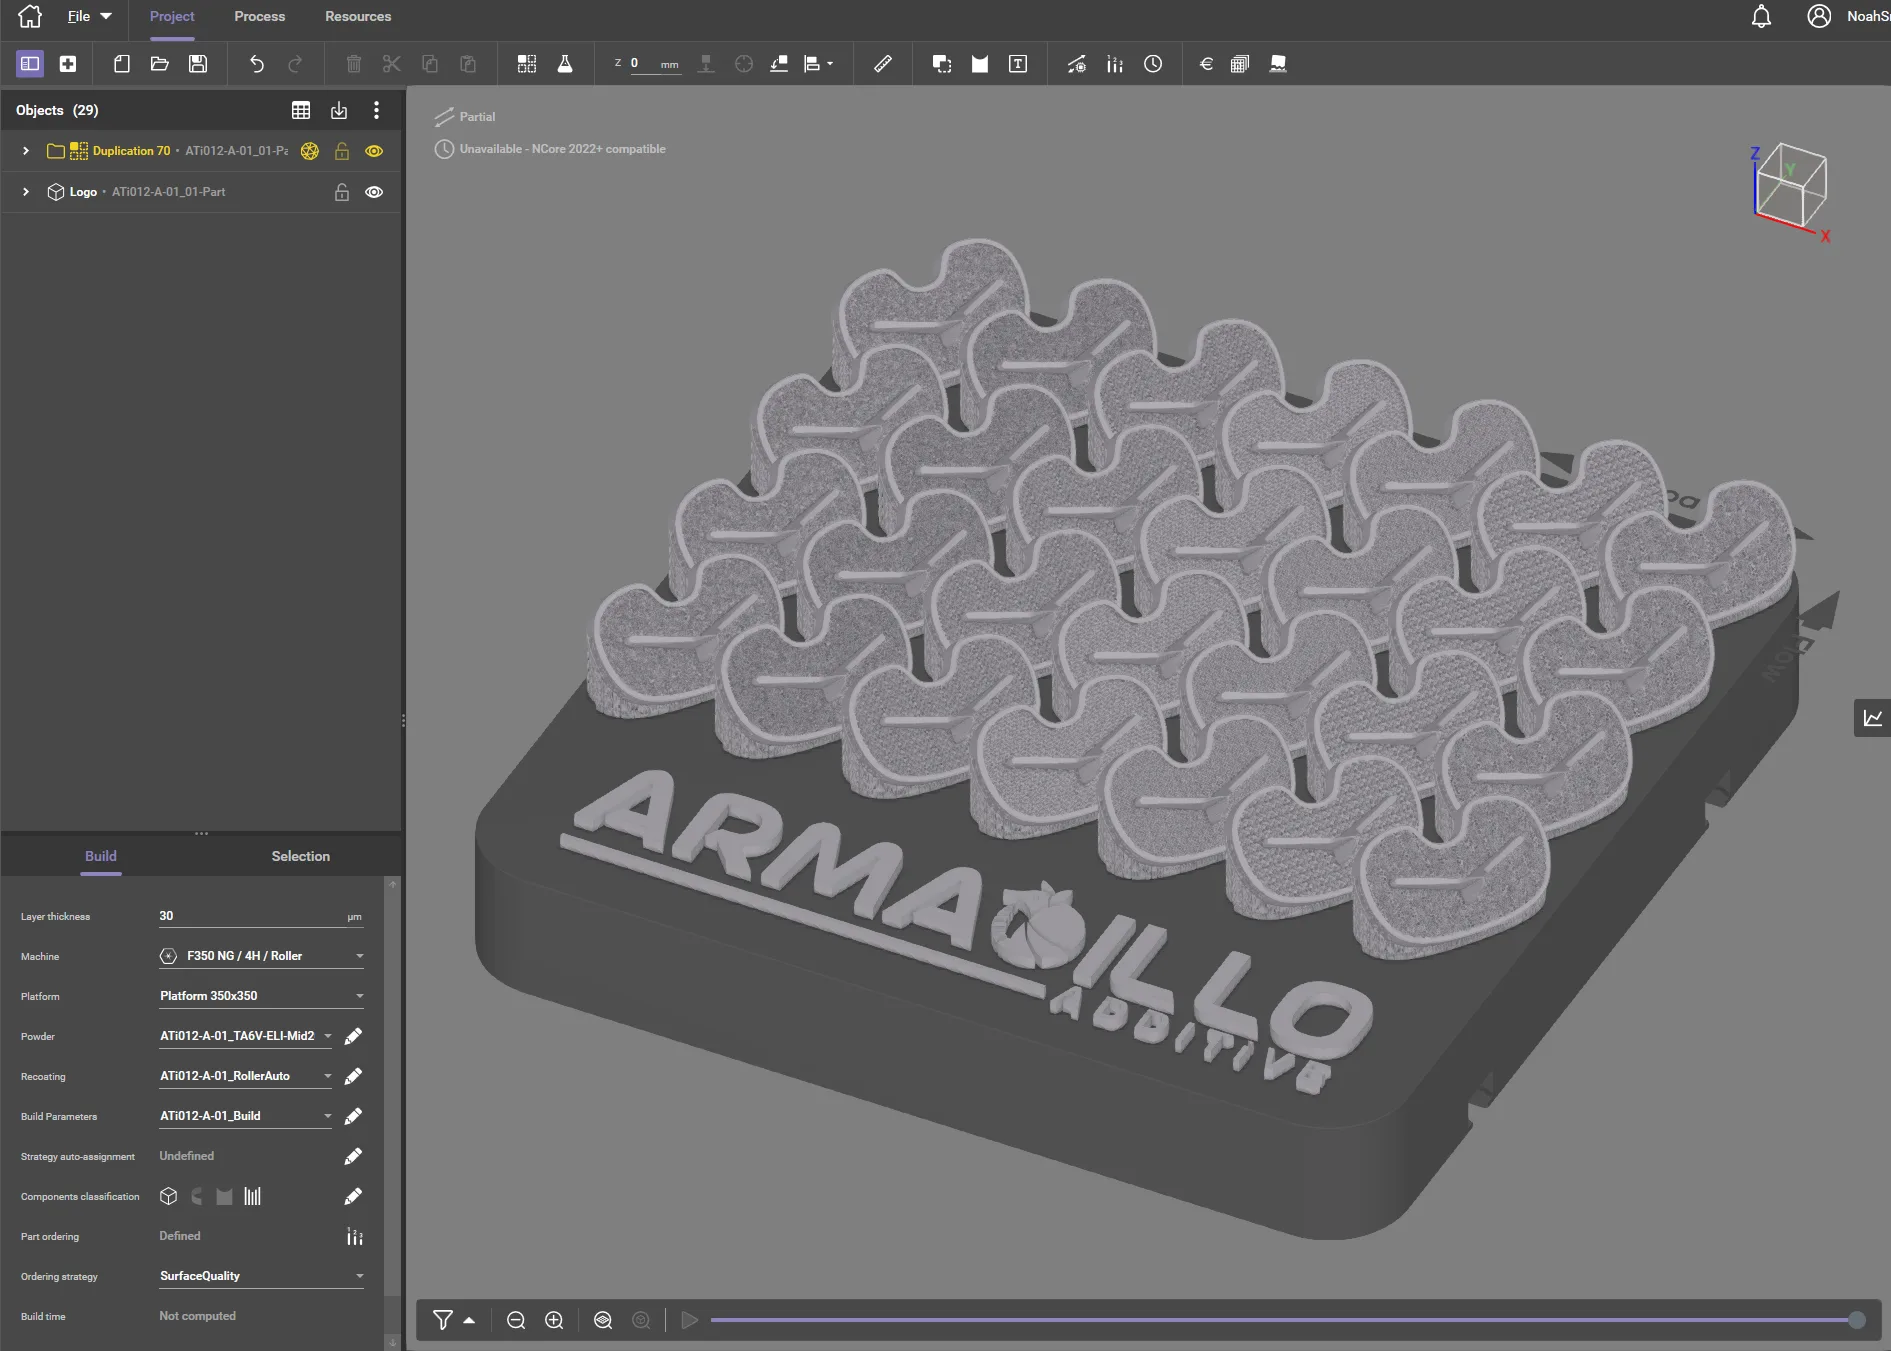
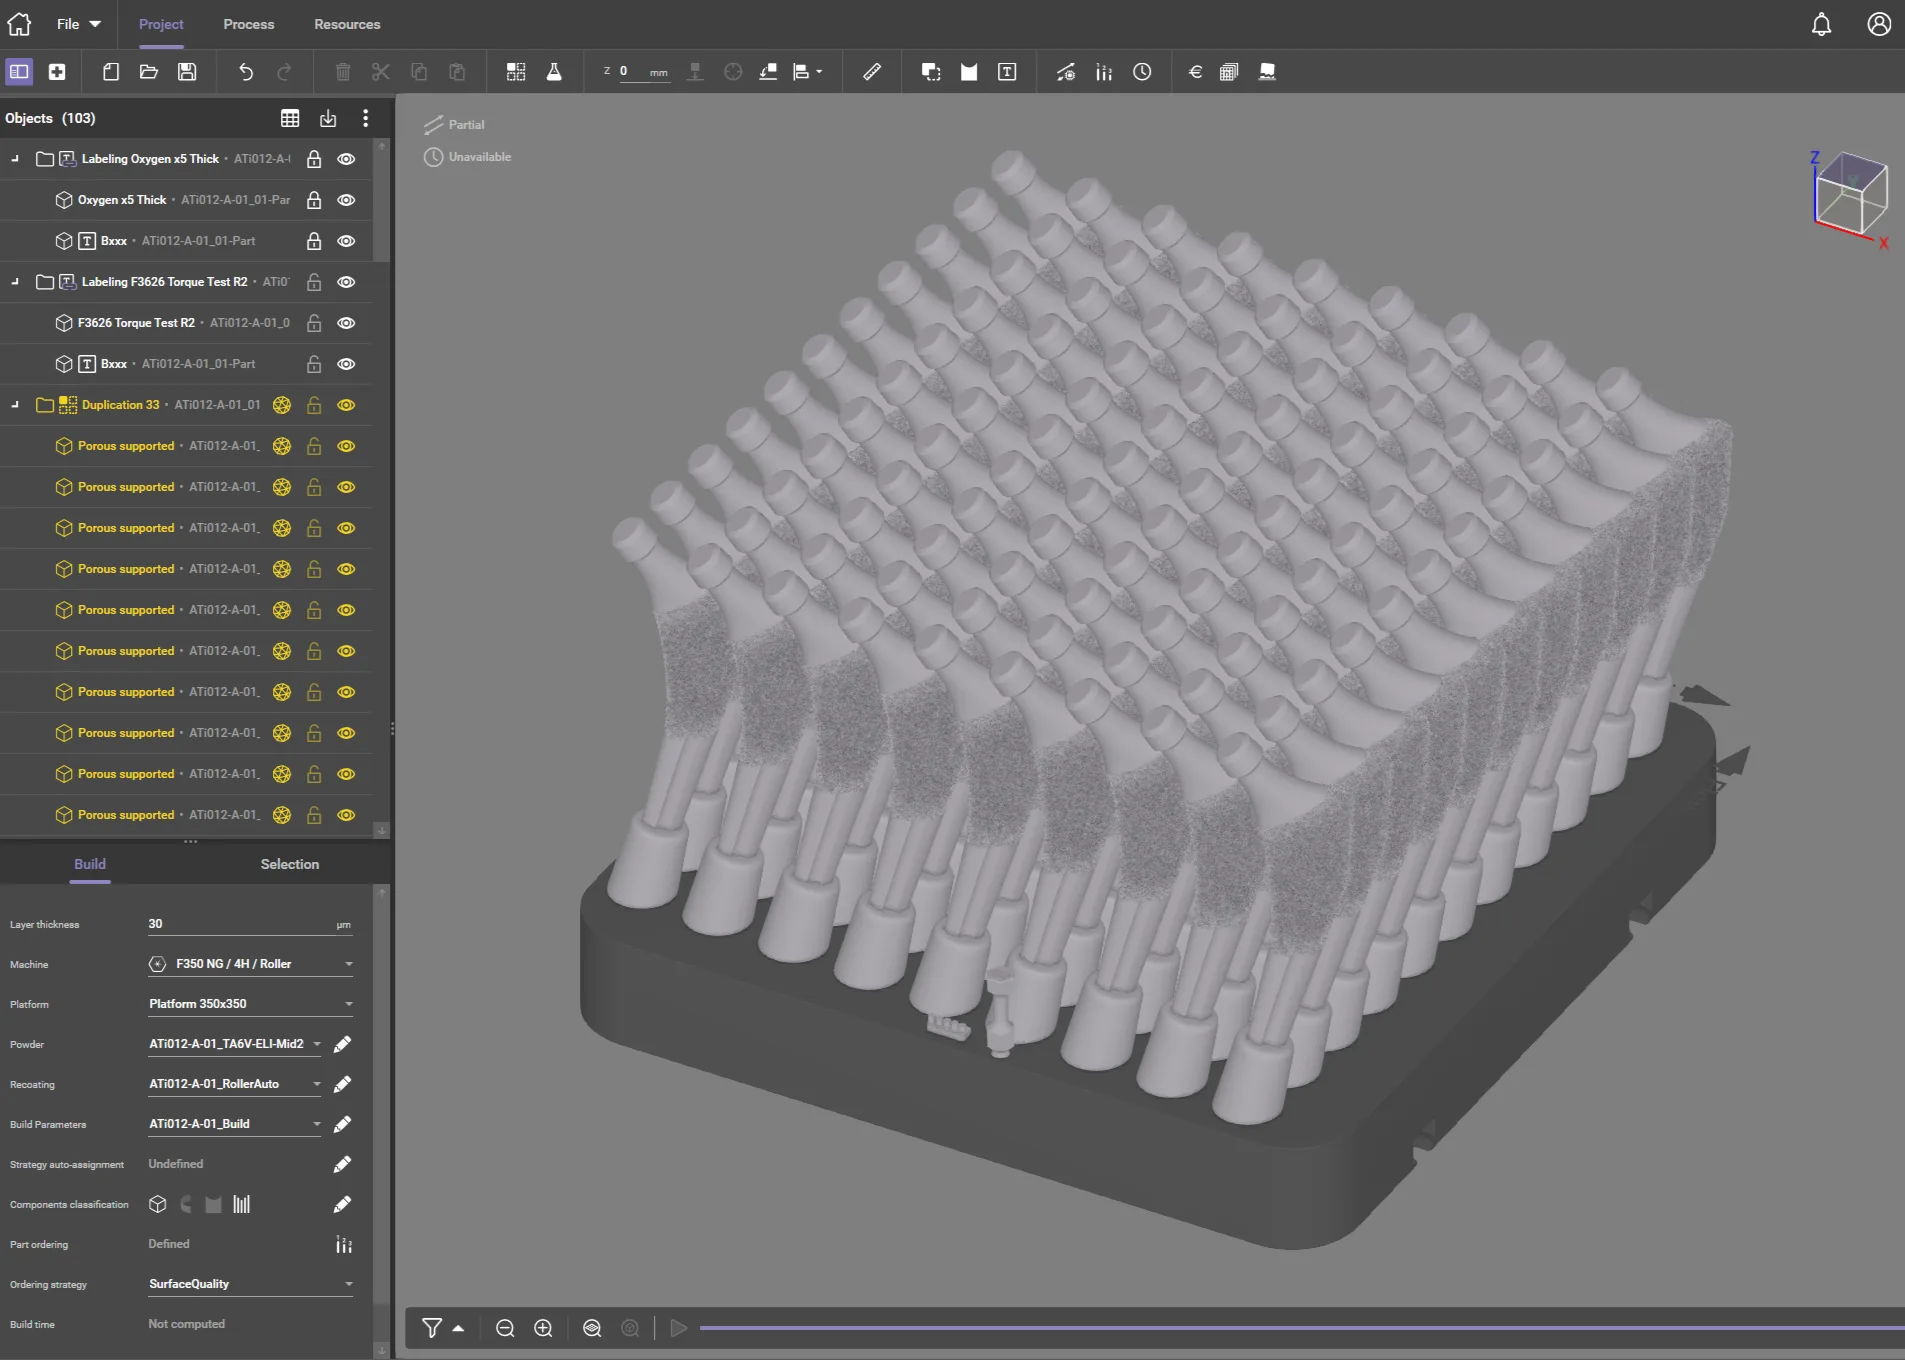
With the part oriented and supported, it moves into the build manager. This software slices the part into 30 micron layers and plots the laser paths that build it.
Small adjustments to parameters and build conditions here decide whether a build succeeds, and how much it costs.
05Render
See it before it's printed
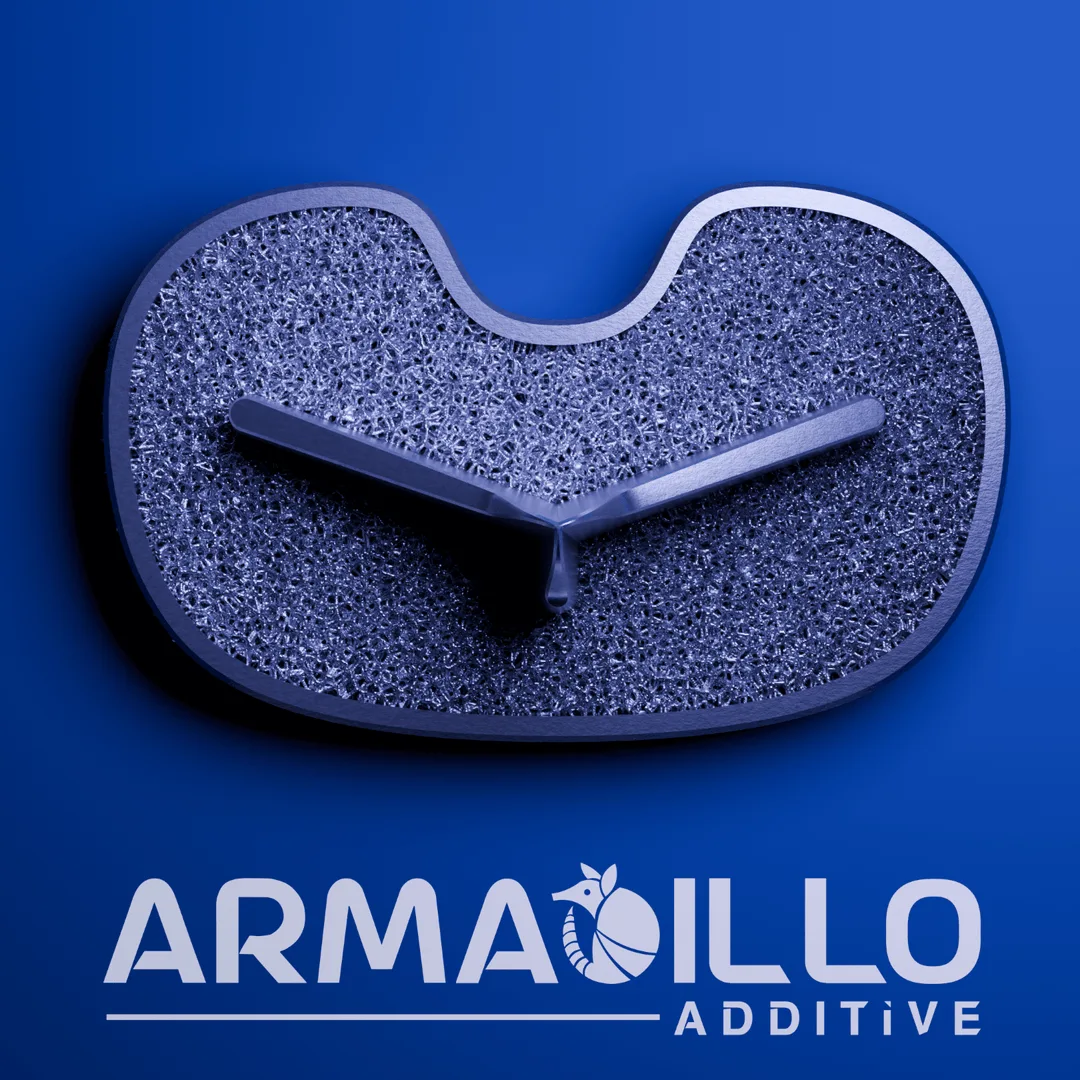
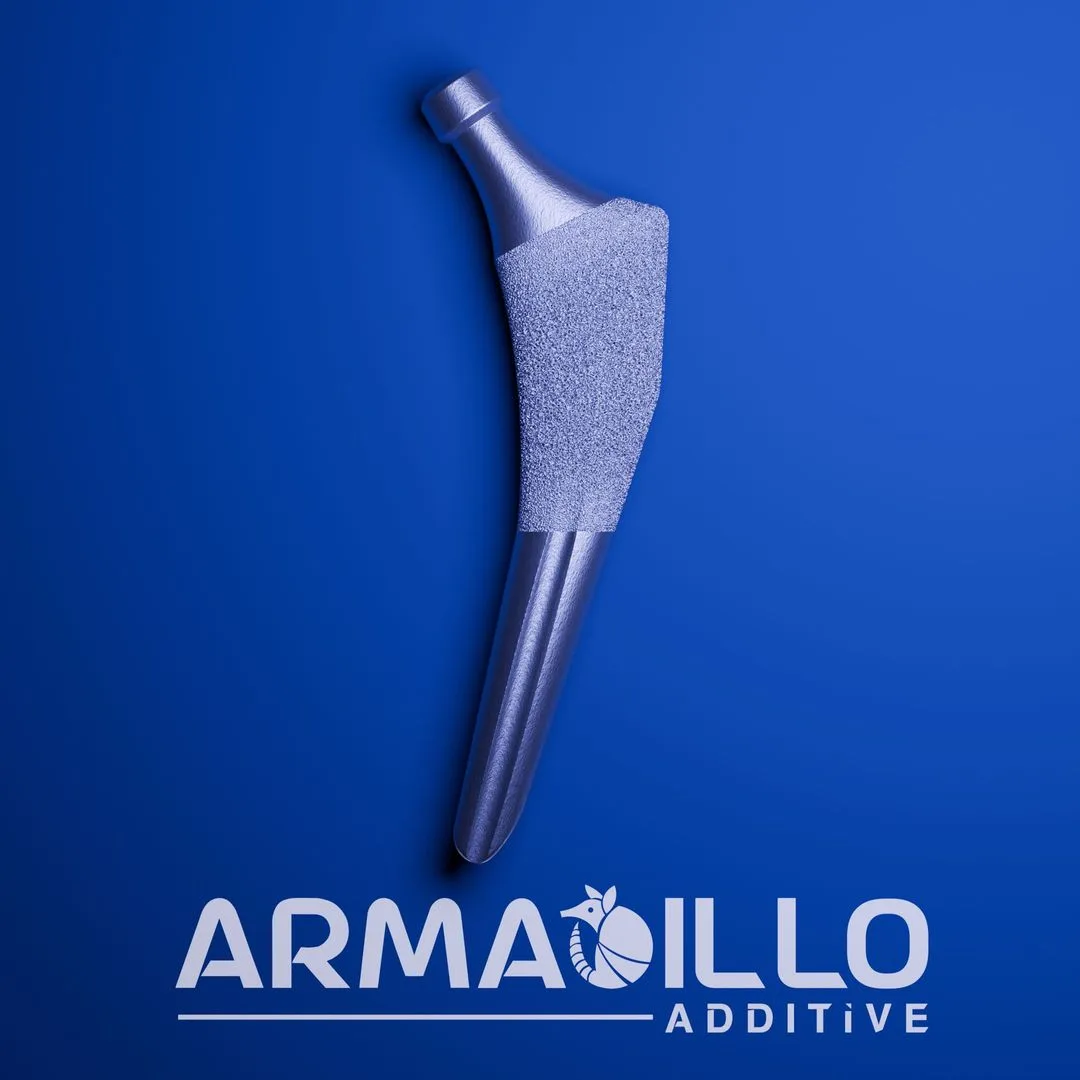
A high quality render shows what the final part will look like before it ever gets printed. That makes it easier to get feedback from everyone with a stake in the design.
Renders also give you a clean image for websites and marketing, without a real build's dust or lighting to work around.
06Production
Powder becomes a part
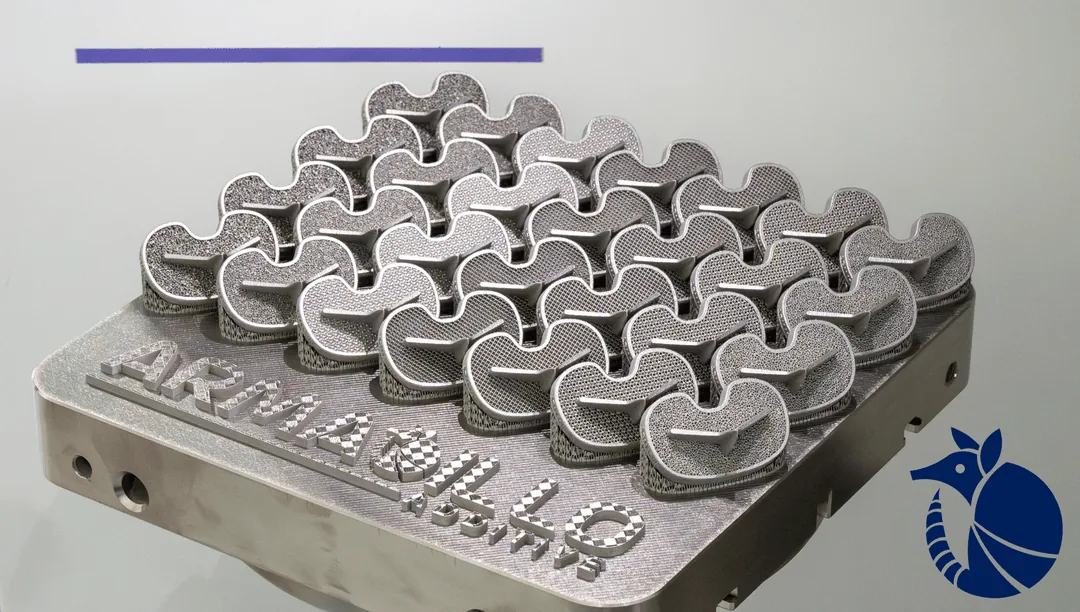
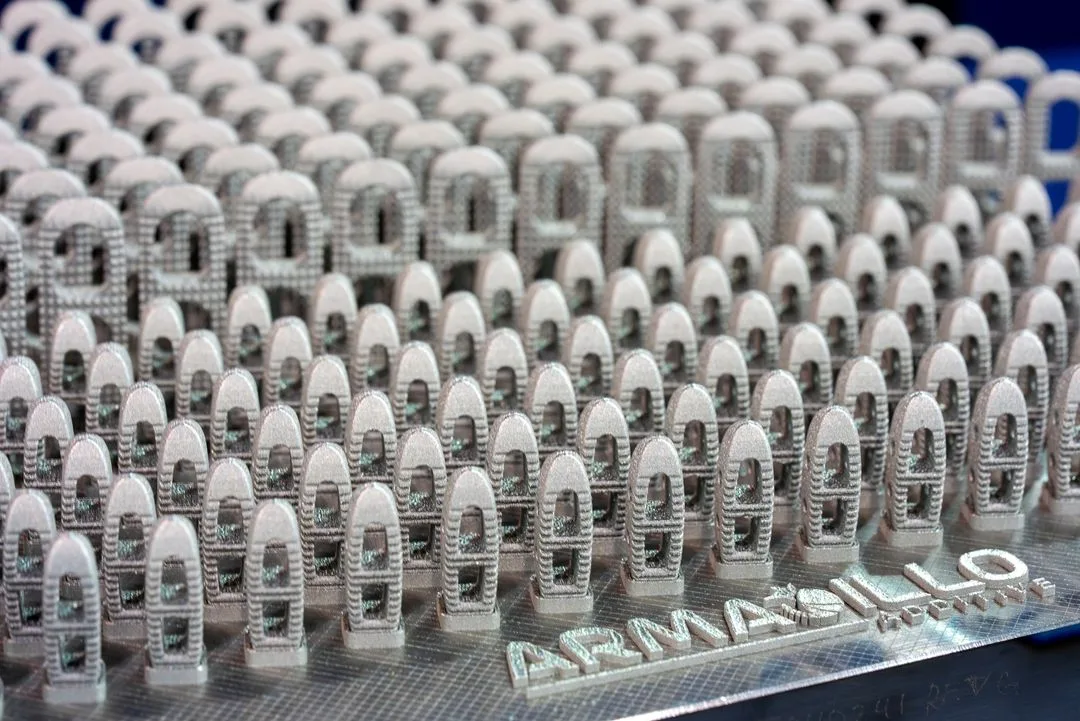
Finally, your design goes to one of our FormUp 350 printers and comes out in Grade 23 titanium or 17-4 PH stainless steel. Nice work.
Start wherever your design stands
Send us a finished model or a napkin sketch. We will meet you where the design stands and help carry it to production.